OpenAI Codex Installation Guide - Mac
A step-by-step guide to installing OpenAI Codex on Mac. Covers all three methods: Desktop app, VS Code extension, and CLI, organized from easiest to advanced.
OpenAI Codex is an AI coding agent that can read, modify, and execute code. You can use it directly in your IDE with the VS Code extension, or code conversationally in the terminal via CLI. Mac is an officially supported platform for Codex, allowing direct installation without any virtualization.
Prerequisites
Requirements
• macOS 12 or later
• ChatGPT Plus, Pro, Business, Edu, or Enterprise subscription
Codex is included in ChatGPT paid plans. You can start using it immediately by logging in with your ChatGPT account, without a separate API key.
Method 1: Desktop App Installation (Easiest)

In February 2026, OpenAI released the Codex desktop app for Mac. Download and install it to start using right away.
Installation Steps
1. Go to openai.com/codex
2. Click Download for Mac
3. Run the downloaded dmg file
4. Drag Codex.app to the Applications folder
5. Launch Codex and log in with your ChatGPT account
Method 2: VS Code Extension Installation
If you don't have VS Code, install it first.
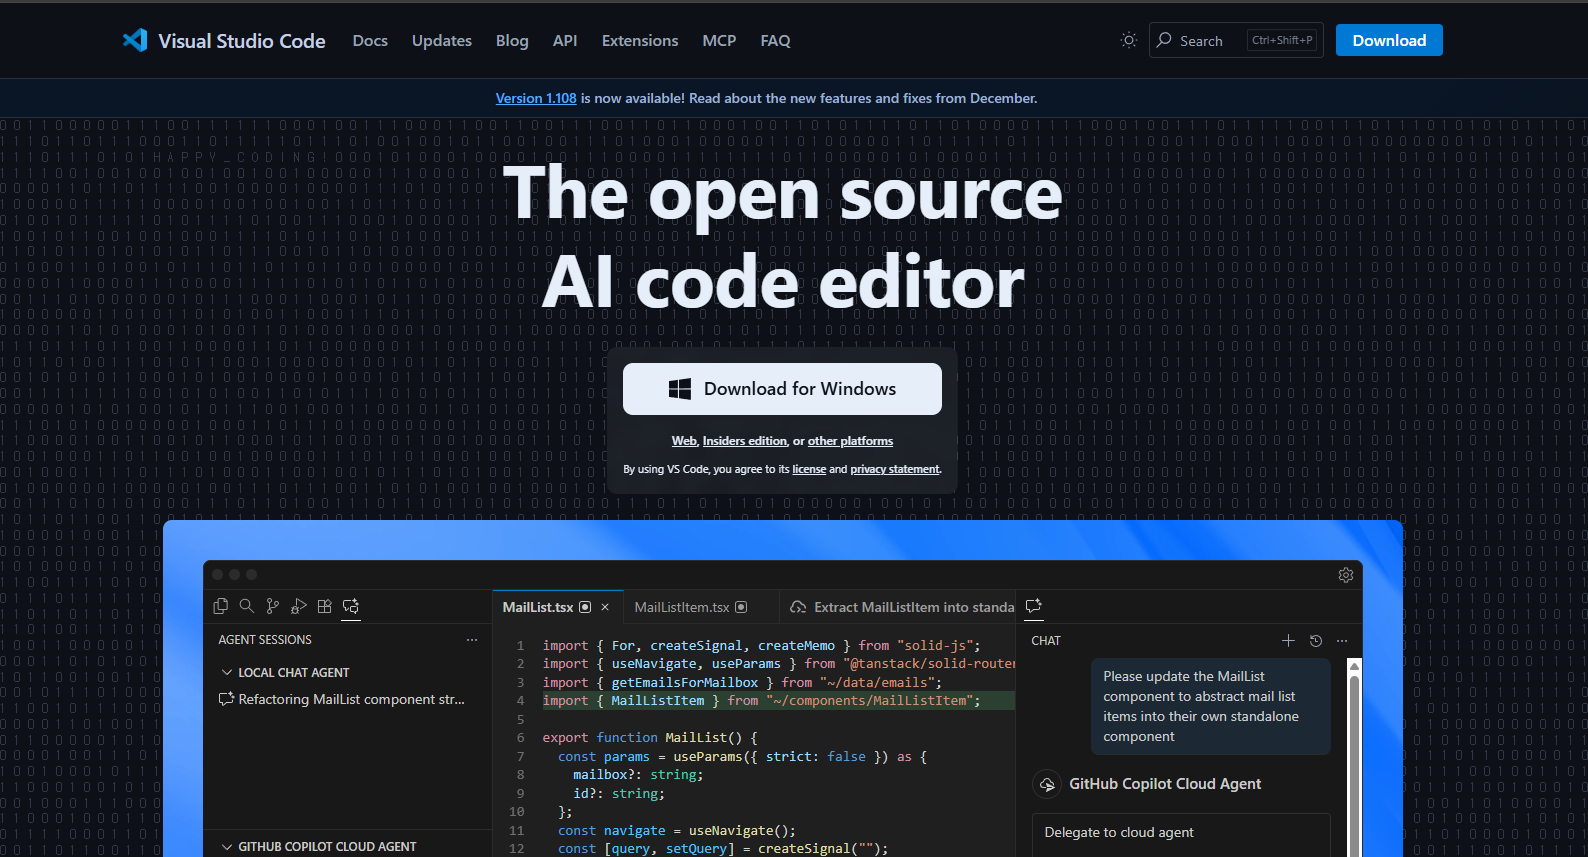
VS Code Installation
1. Go to code.visualstudio.com
2. Click Download for Mac (choose Apple Silicon or Intel)
3. Extract the downloaded zip file
4. Move Visual Studio Code.app to the Applications folder
5. Launch VS Code

Codex Extension Installation
1. Open VS Code
2. Click the Extensions icon in the left sidebar (or Cmd+Shift+X)
3. Type OpenAI Codex in the search box
4. Find the Codex extension and click Install
5. Restart VS Code
6. The Codex icon appears in the left sidebar
7. Click and log in with your ChatGPT account
After installation, clicking the Codex icon opens a chat interface. Here you can ask questions about code, request file modifications, or have it execute terminal commands.
Method 3: CLI Installation
CLI runs Codex from the terminal. You can install it via Homebrew or npm.
3-1. Homebrew Installation (Recommended)
If you have Homebrew installed, this is the simplest method.
brew install openai-codexOnce installation is complete, you can run it immediately.
codexIf you don't have Homebrew, install it first.
/bin/bash -c "$(curl -fsSL https://raw.githubusercontent.com/Homebrew/install/HEAD/install.sh)"3-2. npm Installation
If you have Node.js installed, you can also install via npm.
npm i -g @openai/codexIf you don't have Node.js, install it with Homebrew.
brew install nodeYou can also use nvm to install.
curl -o- https://raw.githubusercontent.com/nvm-sh/nvm/master/install.sh | bash
# After restarting terminal
nvm install 22
First Run and Login
After CLI installation, running codex in the terminal shows the login screen.
Login Method
1. Type codex in the terminal
2. A browser opens and navigates to the ChatGPT login page
3. Log in with your ChatGPT account
4. After authentication, return to the terminal and Codex is ready to use
To log in with an API key, set the environment variable.
export OPENAI_API_KEY="your-api-key"
codex
Updates
Codex updates frequently. To stay on the latest version:
Homebrew
brew upgrade openai-codexnpm
npm i -g @openai/codex@latestThe VS Code extension updates automatically, but you can also check manually on the extension page.
Next Steps
Once installation is complete, try giving Codex simple tasks. Start with requests like 'Show me the files in this folder' or 'Explain this code'. Codex can read files, make modifications, and execute terminal commands.
