OpenAI Codex Installation Guide - Windows
A step-by-step guide to installing OpenAI Codex on Windows. Covers both VS Code extension and CLI methods, with easy-to-follow instructions from WSL setup to execution.
OpenAI Codex is an AI coding agent that can read, modify, and execute code. You can use it directly in your IDE with the VS Code extension, or code conversationally in the terminal via CLI. On Windows, using it through WSL (Windows Subsystem for Linux) is the most stable approach.
Prerequisites
Requirements
• Windows 10/11
• ChatGPT Plus, Pro, Business, Edu, or Enterprise subscription
• VS Code
Codex is included in ChatGPT paid plans. You can start using it immediately by logging in with your ChatGPT account, without a separate API key.
VS Code Installation
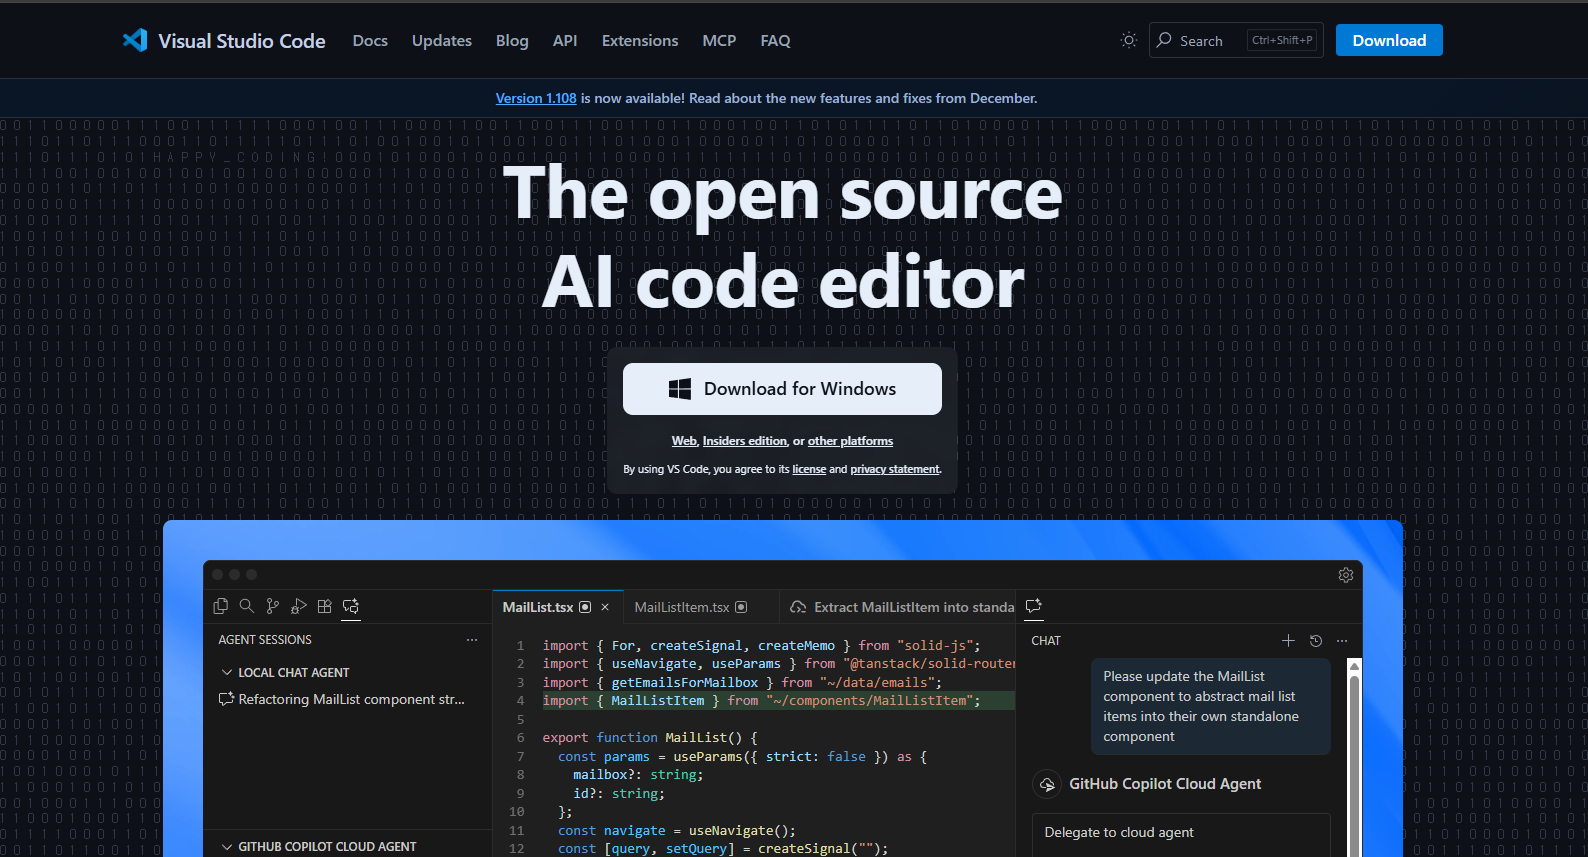
1. Go to code.visualstudio.com
2. Click Download for Windows
3. Run the downloaded installer
4. Check 'Add to PATH' in the installation options (important)
5. Launch VS Code after installation
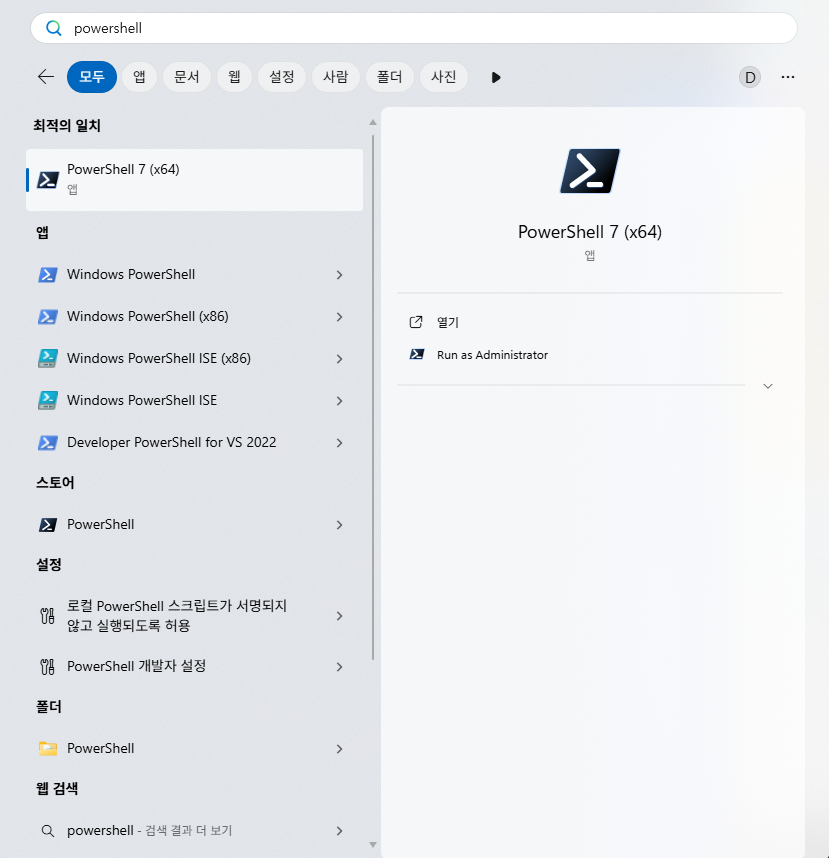
How to Open PowerShell
1. Press the Windows key on your keyboard
2. Type powershell
3. When Windows PowerShell appears, click 'Run as administrator'
Alternatively, right-click the Start button → select Windows Terminal (Admin).
Method 1: VS Code Extension Installation

This is the simplest method. Just install the extension from VS Code Marketplace.
Installation Steps
1. Open VS Code
2. Click the Extensions icon in the left sidebar (or Ctrl+Shift+X)
3. Type OpenAI Codex in the search box
4. Find the Codex extension and click Install
5. Restart VS Code
6. The Codex icon appears in the left sidebar
7. Click and log in with your ChatGPT account
Note: The extension is experimental on Windows native environment. For the best experience, it's recommended to open VS Code in WSL environment.
Method 2: CLI Installation (WSL Recommended)
CLI runs Codex from the terminal. On Windows, installing through WSL is the most stable approach.
2-1. WSL Installation
Open PowerShell as administrator and run the following command.
wsl --installAfter installation completes, restart your computer. After rebooting, Ubuntu terminal will open automatically, prompting you to set a username and password.
If the terminal doesn't open automatically, search for Ubuntu in Windows search and run it.

2-2. Node.js Installation (using nvm)
Run the following commands in order in WSL terminal.
# Install nvm
curl -o- https://raw.githubusercontent.com/nvm-sh/nvm/master/install.sh | bash
# After restarting terminal
nvm install 22
Close and reopen the terminal, or run source ~/.bashrc to activate nvm.
2-3. Codex CLI Installation and Running
Once Node.js installation is complete, install Codex.
# Install Codex CLI
npm i -g @openai/codex
# Run Codex
codex
On first run, a login screen appears. Authenticate with your ChatGPT account or API key.
Connecting VS Code from WSL
Opening VS Code in WSL environment makes Codex run more stably.
Setup Method
1. Install WSL extension in VS Code
2. Navigate to your project folder in WSL terminal
3. Run code . command
4. VS Code opens in WSL mode (shows WSL: Ubuntu in the status bar at the bottom)
Tip: For better performance, keep your projects in a Linux path like ~/code/ instead of /mnt/c/.
Troubleshooting
Extension not responding
C++ development tools may be needed. Run the following in PowerShell.
winget install --id Microsoft.VisualStudio.2022.BuildTools -eCompletely restart VS Code after installation.
Slow in large repositories
• Use WSL internal paths instead of /mnt/c/
• Update WSL: wsl --update && wsl --shutdown
codex command not found
which codexCheck if it's installed with this command, and reinstall with npm if not.
Updates
Codex updates frequently. To stay on the latest version, run the following in WSL terminal.
npm i -g @openai/codex@latestThe VS Code extension updates automatically, but you can also check manually on the extension page.
Next Steps
Once installation is complete, try giving Codex simple tasks. Start with requests like 'Show me the files in this folder' or 'Explain this code'. Codex can read files, make modifications, and execute terminal commands.
